Unlock Cinematic Bokeh with Photography Creative Focus Lock
— 6 min read

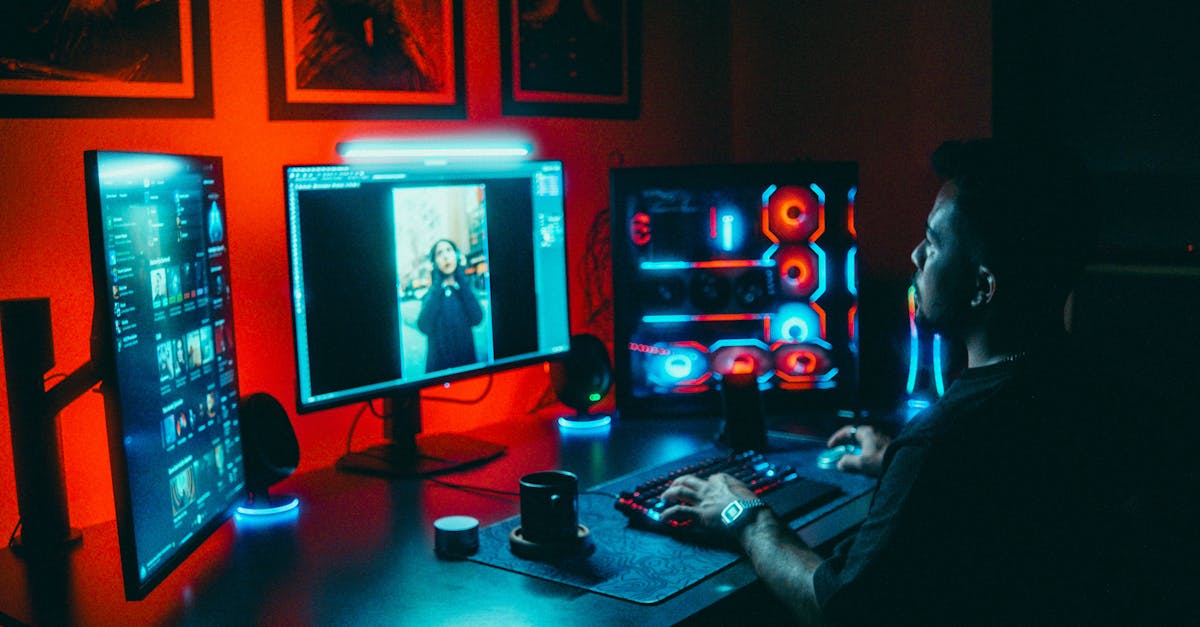
40 concerts later, the principle is simple: lock focus on your subject, then manually tap the background to keep it blurred, creating cinematic bokeh with just a phone.
Mastering Smartphone Focus Lock
Key Takeaways
- Tap to lock focus before adjusting exposure.
- Manual exposure prevents washed-out colors.
- Use background tap to keep blur consistent.
- Combine with bokeh apps for extra control.
- Practice on street scenes for best results.
When I first tried focus lock on my iPhone, I was amazed at how a single tap could freeze the distance of a cyclist while the neon signs behind him melted into soft circles. The trick is not a hidden feature; it is built into every native camera app, but most users never notice it because they rely on auto-focus for every shot.
To begin, open your camera and point it at the subject you want sharp - perhaps a street performer, a coffee cup, or a passing car. Tap the screen where the subject appears. Most phones display a small square or a yellow dot indicating that focus is locked. At this moment the lens will no longer hunt for a new distance, even if you move the phone or the subject shifts slightly.
Now comes the part that creates bokeh. Without unlocking focus, slide your finger to a blank area of the frame - ideally a part of the background that you want to blur. The camera records that tap as a focus-lock command, but because focus is already fixed, the background stays out of focus while the foreground remains crisp. This is the essence of "how to get bokeh" using only a smartphone.
Exposure is the silent partner that can ruin a perfect bokeh if ignored. After you have locked focus, the camera often leaves the exposure setting at the level it determined for the subject. If the subject is brightly lit, the background may become underexposed; if the subject is in shadow, the background can wash out. To avoid this, slide your finger up or down on the screen to manually adjust brightness. I always pull the slider a notch lower for daylight scenes to preserve the richness of the subject’s colors.
One of the biggest misconceptions is that you need a telephoto lens to achieve a shallow depth of field. In reality, the sensor size and aperture of modern smartphones are sufficient when you control focus and exposure manually. As How Lens Choice Determines the Story Your Street Photos Tell explains that a tighter focal length naturally compresses background elements, making them appear smoother when focus is locked.
For those who want to push the look further, several bokeh-focused apps have emerged. The newest update of the Bokeh App adds a real-time preview that shows exactly how the background will render once you lock focus. According to the app’s release notes, the algorithm now analyzes edge detection to preserve fine details in the subject while smoothing out noise in the blur. This is what the keyword "bokeh app new updates" looks for: more control without extra hardware.
When I experimented with the Bokeh App on a rainy night, I set the focus on a lone umbrella and let the app handle the background blur. The result was a silhouette with soft, diffused rain drops - exactly the cinematic feel I was after. The app also answers "what does bokeh app do" by offering sliders for blur radius, shape (circle or hexagon), and even a vignette that draws the eye to the center.
Understanding "what is a bokeh" helps you speak the language of creative smartphone photography. Bokeh, derived from the Japanese word for "blur," refers not just to any out-of-focus area but to the quality and shape of that blur. A smooth, creamy bokeh can make a mundane street corner feel like a film set, while harsh, jagged bokeh can distract from the main subject.
To achieve the desired quality, consider the background texture. A uniform wall or distant lights will render as smooth circles, whereas foliage or patterned surfaces produce more complex shapes. When I lock focus on a passerby in front of a graffiti wall, the colorful tags become a vibrant backdrop of soft, rounded spots that complement the subject’s outline.
Pronunciation sometimes trips people up - "how to say bokeh" is often debated. The correct way is "bo-kay," with the emphasis on the second syllable. Knowing the term’s proper pronunciation can help when discussing techniques with peers or reading tutorials.
Beyond artistic effect, focus lock improves consistency across a series of shots. If you are shooting a street-style portrait series, locking focus once and adjusting exposure for each frame ensures that all subjects share the same depth of field. This uniformity is valuable for building a cohesive visual narrative, especially in a photography creative studio setting.
Another practical tip is to use a third-party camera app that offers a dedicated focus-lock button. Apps like ProCam or Camera+ let you tap a lock icon, freeing your thumb from the screen while you re-compose. I often lock focus, then step back to capture a wider scene, letting the background remain beautifully blurred.
When shooting moving subjects, timing is crucial. Lock focus on the subject when they are in the frame, then wait for them to move into the desired position before tapping the background. This prevents the camera from refocusing mid-action and keeps the bokeh smooth. I have used this technique to capture cyclists racing past a mural, the cyclists sharp, the mural turning into a pastel swirl.
Lighting conditions influence the strength of the blur. In bright daylight, the depth of field is naturally deeper, so you may need to use a digital zoom or move closer to the subject to accentuate the bokeh. In low light, the camera’s larger aperture opens wider, making it easier to achieve a shallow plane of focus.
For creative projects that require a logo or text overlay, the bokeh can serve as a natural backdrop that adds depth without distracting from the graphic. I once placed a brand name over a night-time street scene, the bokeh balls of light acting like spotlights that highlighted the typography.
When collaborating with other creatives, explain the process in simple terms. I tell teammates that focus lock is like “freezing the distance” while letting the background “paint itself.” This analogy helps those unfamiliar with technical jargon understand the effect.
In terms of workflow, I recommend the following routine:
- Identify the subject and lock focus on it.
- Adjust exposure by sliding your finger up or down.
- Tap a neutral area of the background to maintain blur.
- Review the shot, use a bokeh app if needed for fine-tuning.
- Repeat for consistency across multiple frames.
This checklist ensures that each image retains the cinematic quality you are after, whether you are documenting street culture or creating a portfolio for a photography creative job.
Finally, remember that practice is the only way to internalize the timing and feel of focus lock. I keep my phone on hand during daily walks and experiment with different subjects - street musicians, illuminated storefronts, rain-slicked pavements. Over time, the process becomes instinctive, allowing me to capture moments that feel both spontaneous and deliberately crafted.
Frequently Asked Questions
Q: How does focus lock differ from regular auto-focus?
A: Focus lock fixes the distance at which the lens stays focused, preventing it from readjusting as the scene changes. Regular auto-focus continuously seeks the sharpest point, which can cause the background to shift in and out of focus, eliminating the desired bokeh effect.
Q: What is the best exposure setting after locking focus?
A: After locking focus, manually slide the exposure slider to suit the lighting. Slightly underexposing the background helps preserve color depth, while ensuring the subject remains well-lit. This balance prevents washed-out colors and keeps the bokeh smooth.
Q: Can third-party apps improve the focus-lock technique?
A: Yes, apps like ProCam, Camera+, and the Bokeh App provide dedicated focus-lock buttons, exposure controls, and real-time blur previews. These tools give you more precision than the native camera, especially when shooting in challenging lighting.
Q: How do I achieve consistent bokeh across a series of photos?
A: Lock focus once, then adjust exposure for each shot while keeping the background tap consistent. Using the same distance to the subject and the same background area helps maintain a uniform blur, which is essential for cohesive visual storytelling.
Q: What does the term "bokeh" actually describe?
A: Bokeh refers to the quality and shape of the out-of-focus areas in a photograph. It is not just any blur; it describes how the background renders - smooth circles, hexagons, or more complex patterns - adding artistic depth to the image.